Would you like to customize the content of your slides on your website in Elementor? This guide will walk you through the steps to give your slider a personal touch.
Customize website slider
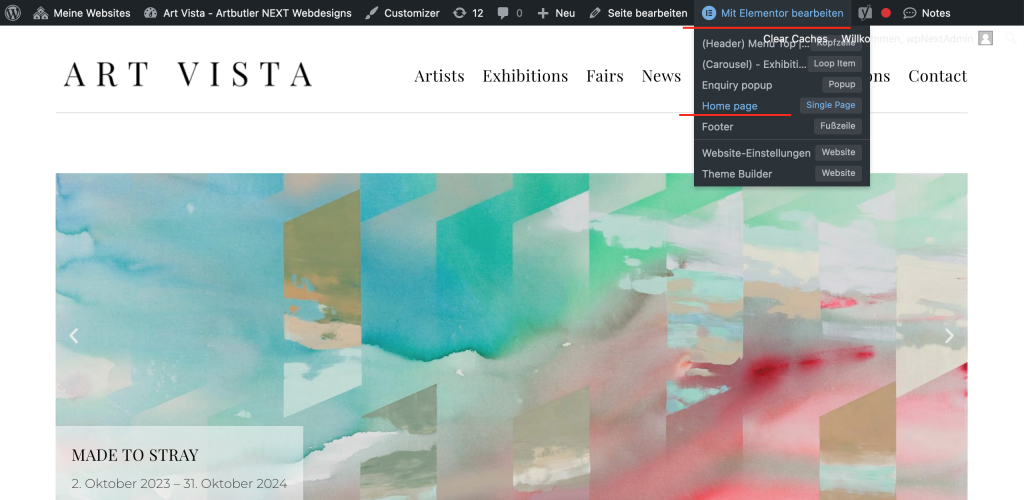
1. Open the Elementor editor: Once you are logged into WordPress, go to the homepage and navigate to the page where the slides you want to edit is located. Then click “Edit with Elementor” at the top of the menu. (in the illustration you can see this using the example of the homepage)
2. Select the “Slides” widget to start editing: Search for the “Slides” widget via the navigator and click on it. You can now start editing and the corresponding “Edit Slides” menu with all editing options will open on the left-hand side of the screen.
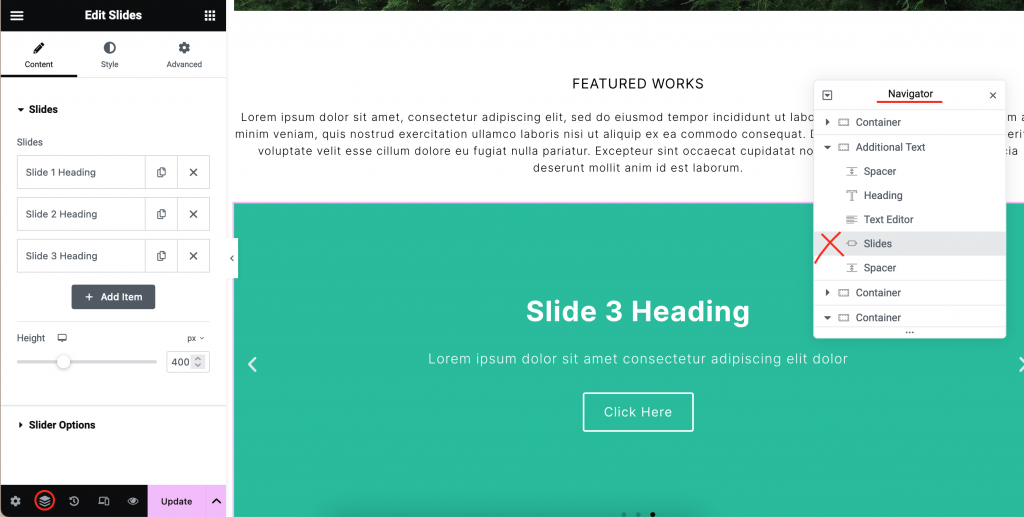
3. Edit content, change texts and media, customize style: You will now see a preview of all slider slides. Click on a slide to edit its content.
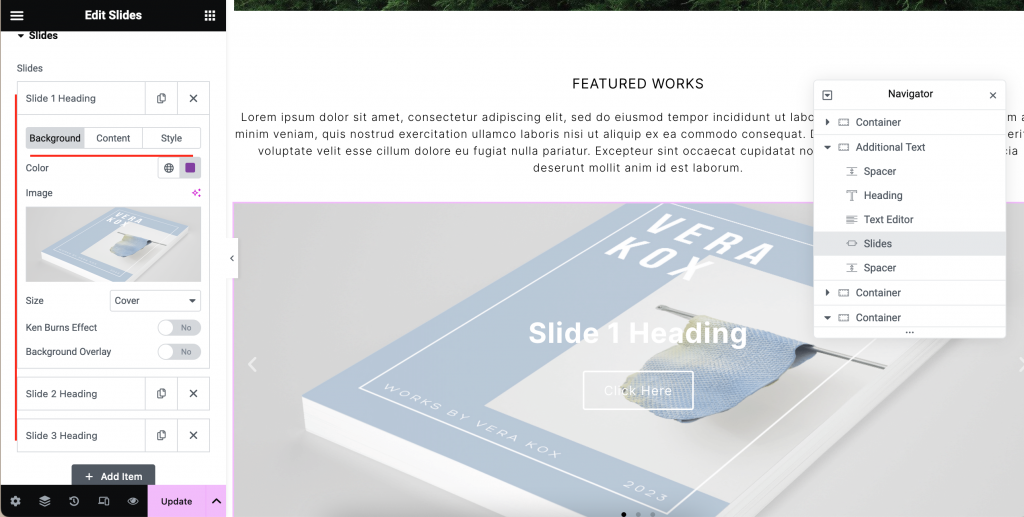
Background: Change the background image by clicking on “Image” and uploading a new file or selecting an image from the media library.
Content: Customize the text that is shown in your slide. You can also add a link that your slide links to by either pasting any link in the field or just typing e.g. the title of an exhibition and picking the page from the dropdown that will appear.
Style: Adjust fonts, colors and other visual elements of your individual slide
4 Save and publish: Click “Update” to save your changes.
These simple steps allow you to customize the content of your slides in Elementor to create an appealing and personalized presentation.